Posts

Showing posts with the label Art

Making Painted Paper

Image
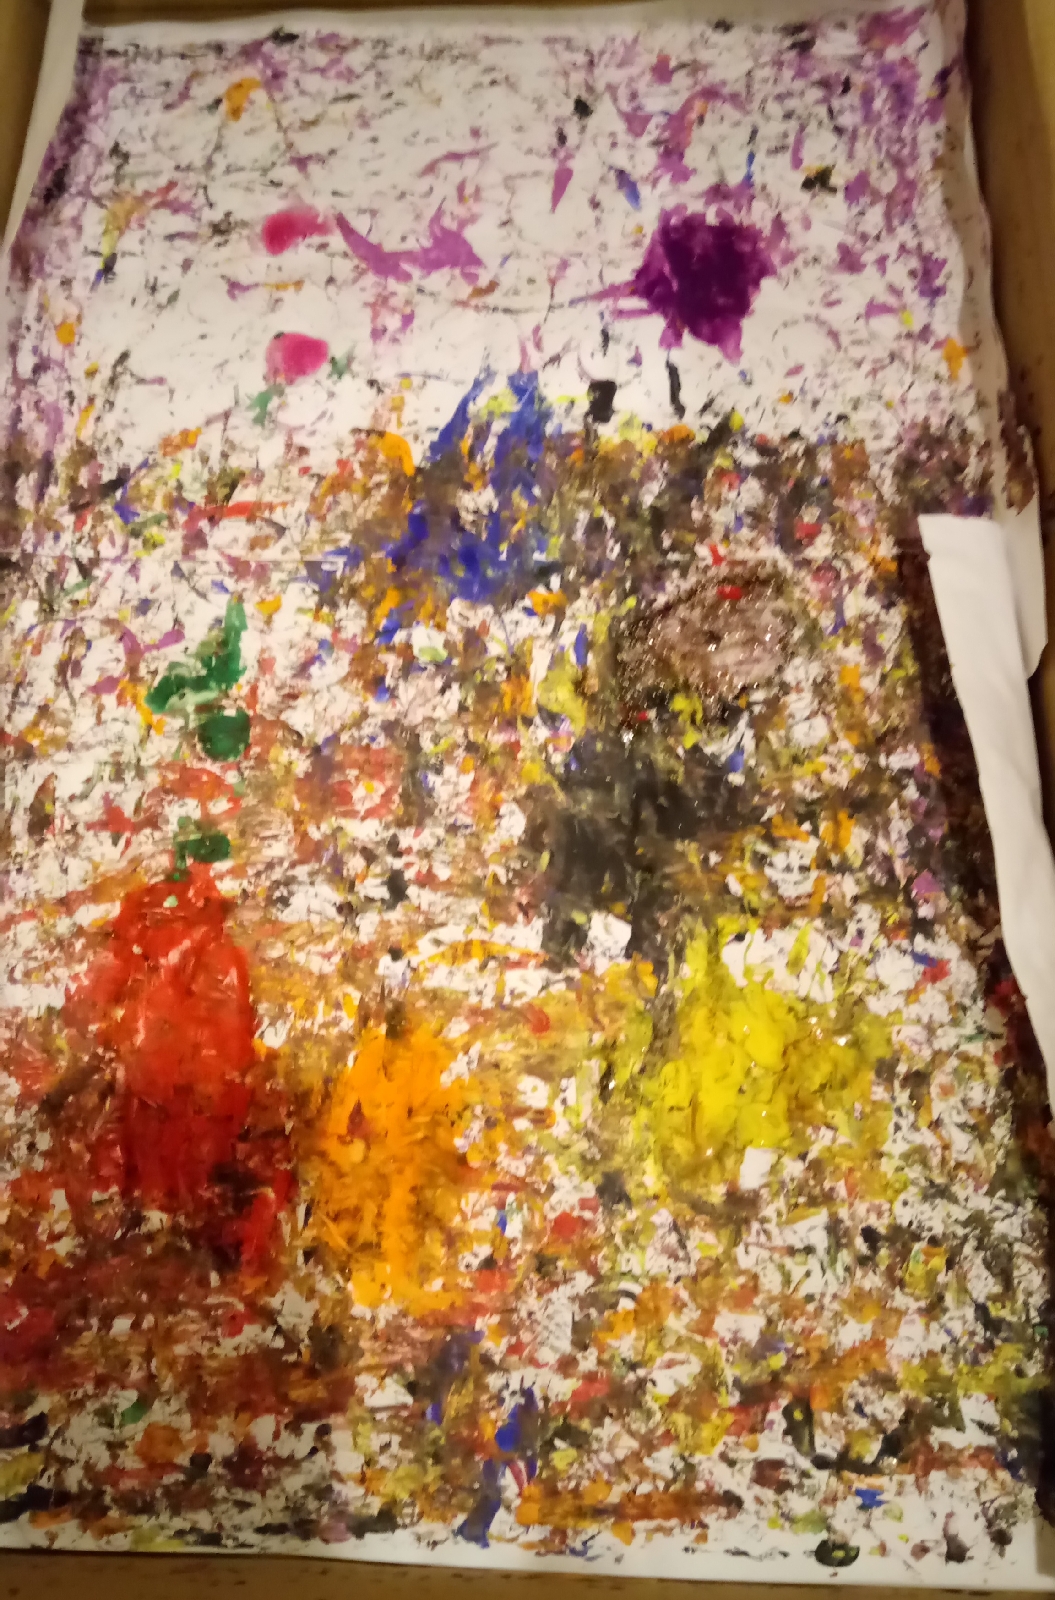
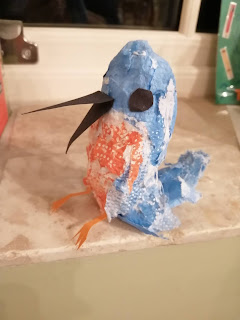
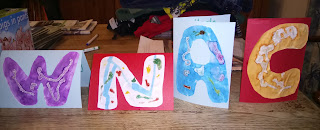
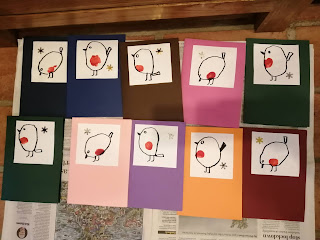
We had some bits of paint left over after we painted our wooden birdbox. We decided to make some painted paper.  Paint sheets of paper using the left over paint.  Once the painted paper is dry you can save the coloured paper and use it for other art projects and card making. We always make our own cards do we can cut out numbers, letters or objects to make personalised cards. 

Make Art In A Box

Image
If like us you have lots of boxes lying around then why not use them for making some painted paper you can use as gift wrap or making into cards. What you need.  A box Paper Milk bottle tops, corks, marbles or baby food pouch tops.  Paint Cellotape What to do.  1) Line the box with white paper.  2) Squeeze different coloured paint in patches all over the box.  3) Add in bottle tops or small objects that will roll about and you don't mind getting covered in paint.  4) Close the lid on the box and Cellotape up.  5) This is the fun part. Shake the box from side to side so the loose parts spread the blobs of paint about.  6) Open up to have a look at the results. You can always add more blobs of paint and repeat the shaking of the box.  7) When you are happy with the results, leave to dry.  8) Use the painted paper to wrap a present for a family member or cut the paper up into squar...

Patterned Pictures

Image
Create a patterned picture. We have drawn pictures of our village canal and the local landscape.  Go over the pencil lines in black felt tip.  We drew our local canal but you can draw anything.  Using coloured felt tip pens create patterns in different sections of the picture. We tried to use different colours and patterns next to each other. I think these pictures are very effective. 

Easter Egg Card Printing

Image
We have printed flower designs onto egg shaped card that we are sticking onto coloured card to make Easter cards. What you need.  Cotton buds - at least 7 buds White card or paper cut into an egg shape  Elastic bands Paint Glue Coloured card What to do. Put the 7 cotton buds together so they form a flower pattern at the end with one bud in the middle surrounded by the rest. Join together with an elastic band at either end. Cut out an egg shape on white card or paper. Dip one end of the cotton buds into a paint colour and print onto the card. Dip the other end of the cotton bud into another paint colour and print a pattern on the card. You can use more than one group of cotton buds, depending on his many colours you want. When the paint is dry. Glue the egg shape onto card to make the Easter card. 

Egg Carton Animal Picture

Image
Inspired by Nylah Khan on instagram we have made an egg carton animal picture. What you need. Egg carton Sharpie pens or paints Glue Cardboard What to do. Decide on animal to make - we chose an elephant.  Cut a square of cardboard. Cut up the egg carton. Colour or paint animal details onto the egg carton parts. Glue egg carton parts to the cardboard. Draw body of animal. Draw a border on the cardboard and colour it in. 

Make Wax Crayon Letters

Image
 Make wax crayon letters. I have lots of broken wax crayons so I decided to make some wax crayon letters. Peel the paper off the old wax crayons and break up into small pieces.  Place into a silicone alphabet mould.  Place in the oven until the wax melts.  Let cool and carefully peel back the mould to free the wax crayon letter. These make the perfect gift. You can arrange them into names. 

Birds Made From Foil and Kitchen Roll

Image
Make birds from foil and kitchen roll. We have made a kingfisher and a robin.  You will need...  Foil Kitchen roll Felt tips or water colours Coloured card for beak and feet Glue Scissors Roll up some foil into a sausage shape and then shape into a bird shape.  Make one end the head and beak shape and one end the tail shape. On a piece of kitchen roll either felt tip or water colour paint the kitchen roll the colours of your chosen birds feathers.  If using watercolours wait for kitchen roll paper to dry and then tear up paper into small pieces.  Glue on the coloured pieces starting at the tail and working up the bird covering the foil.  The pieces can overlap and don't have to be completely glued down as this gives the impression of feathers. Cut out a diamond shape from coloured card for the beak and fold the diamond in half and glue in place. Cut out two black circles for the eyes and glue in place. Cut out leg and feet from coloured card and glue in pla...

York Walls In Spring Competition

Image
If your child enjoys art and drawing. Why not enter the York Walls in Spring competition by Little Vikings. Here is the picture I did whilst my son and some of his friends on zoom had a go at drawing, colouring and painting their pictures. Send a photo of your child's art work to hello@little-vikings.co.uk. Include their name and age.  The competition will close on Sunday 21st March 2021. Visit the Little Viking's website for more information. 

Mandala Art

Image
Mandala art uses dots in circular patterns which have a spiritual and religious connection as the circular patterns can  represent the cyclical nature of life. You will need...  Black paper Paint or acrylic pens Cotton buds Cocktail sticks/ pencils Starting in the centre of the pages, make patterns using dots and colours working outwards.  Cotton buds make larger dots and cocktail sticks or pencil point make smaller dots. You can also create smaller pictures which can be turned into cards with mandala dots. We look forward to seeing your mandala art. 

Scribble Game

Image
One of the lovely teachers at my son's school had done a video lesson on mental health and well being for the mental health week which was at the start of February. The activity that went with it was the scribble game. Draw a scribble and then see what objects you can see in the lines and shapes. We loved this and both had a go. I had to turn my sheet around a few times before I saw a duck and a penguin! My son found a dog, ufo, hamster, a beaver's tail and an egg timer. Why not have a go and post your picture's here, we'd love to see them.

Write Secret Messages

Image
 Happy Valentine's Day. Create secret valentines messages or affirmation hearts to make any day special. Cut out a heart shape. Write a message in white wax crayon. Use water colour paints or watery paint to discover the message.

5 Star Hand

Image
Everyday we do a zoom call with a group of friends in the village and we do an activity together.  As it was Friday before half term and the children have all worked so hard these last six weeks and I think they are all stars. We drew a 5 star hand.  Draw around your hand. Go over the outline in felt tip. Draw a star on each finger. Write your name on the hand. On each finger write one thing you are good at.  I wrote reading, art, looking after pets, cooking and my son wrote kind on my hand, which was lovely.  This is a lovely well being activity, giving the children the chance to think about things they are good at. 

Well Being Portrait

Image
If your child likes drawing you could get them to draw a picture of their face. We used a mirror and looked at the shape of our face and our facial features and had a go at drawing our face.  We used pencil crayons to colour in.  We also talked about things we liked about ourselves physically eg hair, eyes etc We talked about charactistics that were positive about ourselves or that we were good at or enjoyed eg happy, organised, creative etc We talked about interests and things we liked eg football, art, animals, reading etc We did this on a zoom call with some friends and gave positive suggestions about each other. We wrote the words around our face, or in a list on the back of the portrait if we didn't want to write around the drawing. It was a lovely way to highlight all the positive attributes of each other and the drawings the children produced were excellent. I somehow managed to draw the teenage version of myself! 

Family Paint Off

Image
On a Saturday we like to do a family painting session and this week we did a video call with family in Australia so we could all paint at the same time. My husband is friend's with Ed Sumner and so we love to paint along with Ed. This week we did David Hockney's Wheat fields a painting from our local area. It's a great way to have fun with the family and get creative so why not take a look at the free videos Ed has on his Cheese and Wine Painting Club page. Grab your paints, paper and paint a masterpiece with Ed. 

Design Poster To Save Water

Image
Design a poster to save water. Have a chat about how we use water in the home and outside. Eg we drink water, wash clothes, wash pots, bath, shower, clean teeth, use water for cooking, wash car, water plants inside and out etc. Discuss ways to save water. Eg Don't have tap running when cleaning teeth, have a shower instead of a bath, fill up water bottles and keep in the fridge so not running tap lots of times, collect rain water in a container for gardening, share bath water. Design a poster to help save water. Make your images and wording stand out.

Homemade Initial Letter Cards

Image
Make personal initial letter homemade cards for birthdays or Christmas. You will need...  A4 white paper Paint Glitter glue tubes/pens Coloured card Scissors What to do...  Paint A4 paper in desired colours.  Then add dabs and swirls of glitter glue.  When dry cut out initial letter.  Fold A4 coloured card in half, then half again to make 2 cards.  Glue initial letter to front of the card.  We love these simple, personal handmade cards. 

Robin Thumb Print Christmas Card

Image
We have made a simple robin thumb print Christmas card this weekend. You need: A4 white paper.  Black felt tip pen.  Glue.  A4 Coloured card.  Red paint.  Envelopes.  Gold, silver or white glitter pen.  What to do...  Cut up white A4 paper into six squares.  Draw different robin outlines. The children can then trace the different outlines onto the paper squares or draw their own. Dab thumb into red paint and make a red thumb print for the robin's red breast.  When the paint is dry, glue the square onto folded coloured card.  Write Happy Christmas on the front.  Write message inside.  We stuck some sequin snowflakes on the front.  We love these simple Christmas cards. 

Artstraws Christmas Tree Christmas Card

Image
Create a Christmas Tree on a Christmas card using artstraws. You will need...  Artstraws - various colours A4 coloured card Glue Fold the card in half.  Choose coloured artstraws for the tree.  Cut up the artstraws in to different sizes, start with one nearly as wide as your folded card, then cut a slightly smaller piece each time, until you have enough to make a tree shape.  Glue the artstraws onto the card so they form a triangular tree, getting smaller as they go up the card. You can add straws to make a trunk for the tree, snow on the ground, snow flakes in the sky and a star on top of the tree. 

Make Clay Christmas Ornaments

Image
Make Clay Christmas ornaments and decorations for the tree. You will need  Air drying clay Rolling pin Shaped cutters and Christmas shaped cutters.  Pencil Ribbon Paints Glue/Midge Podge Glitter Foil Tray Cover table with a wipeable plastic sheet.  Roll out the clay.  Use cutters to create different shapes.  Use a pencil point to form a hole in the ornament for hanging it up.  You can add markings and indentations to the clay to create shapes, faces, date, name etc Place the clay shapes onto foil on a tray to dry for a few days.  Paint the ornaments when the clay has dried.  You could add some glitter to the paint for extra sparkle.  When the paint is dry, paint the backs.  Once dry seal the paint with glue or modge, podge. Leave to dry and repeat on reverse.  Tie some ribbon through the hole so the ornament can hang on the Christmas tree. These make lovely gifts. 

Painting Pumpkins

Image
We grew some pumpkins from seeds we collected from last year's pumpkins. We have carved some pumpkins so decided to paint these 3. We painted one white and let it dry, then squeezed paint from the top so it dripped down the sides.  We painted black and blue stripes on another and painted the final one half purple!  This was an enjoyable activity.  We'd love to see your painted pumpkins.